Painting with glue
Remember the post I put up about checking out the dustbins some while back?
I mentioned some salvaging I had done – or rather – my husband had done on my behalf – of display items which had been thrown out by a local store – they never actually went in the garbage by the way! Well I have a dozen of them sitting in my craft room, and this weekend I decided to put one of these boards to the test with paints and heavy colouring treatment to see how well it survived.
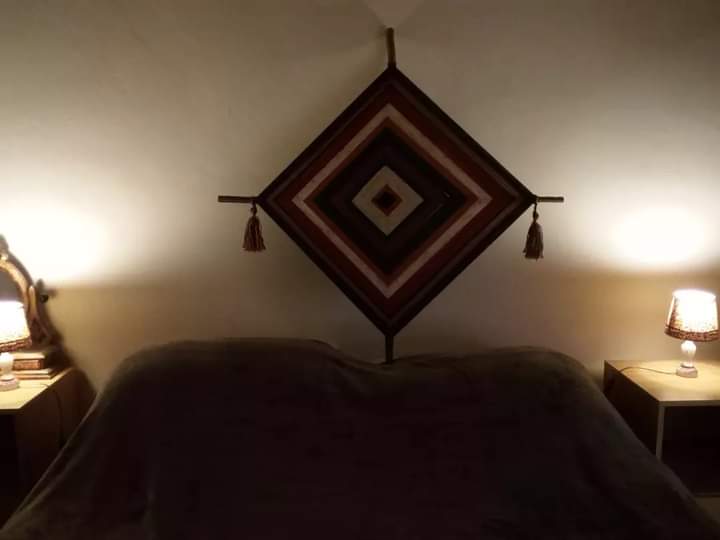
I’m actually quite pleased with the results even though I consider this to still be a work in progress as I am not 100% satisfied with the painting – there are still a couple of areas I will be giving my attention to – a few more details to be added. I have included an image here anyway so that you can see for yourselves the direction the work is taking.
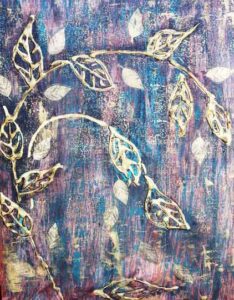
I knew I was going to be using metallic paints and inks, so I wanted the base/background to have a sort of grungy copper type effect with a touch of ‘verdigris’. That was achieved using an earthy/orange coat of paint and a dark umber, both of which were brushed on with a large brush in a very irregular manner. I then used my brayer wrapped with randomly wrapped string to add streaks of turquoise. When everything had dried nicely I used a background stamp for adding minute gold details.When all the upper layer 3D details (created using my hot glue gun) were dry and painted, I sponged the whole painting with black shoe polish and quickly rubbed away some areas to reveal the gold details below.
Great fun, though very smelly! Make sure you keep your windows open if you try this.