Warping up your frame [4]
You will need:
- Your pre-prepared frame with nails in place
- The larger bundle of natural cotton warping thread
- Scissors
You might need:
- One extra nail
- A hammer
![Preparing your table-top frame [3]](https://www.craftworkshopsinitaly.com/wp-content/uploads/2021/11/IMG_20200725_083108_785-768x768.jpg)
Here’s how to prepare your table-top weaving frame: You will need a measuring tape or ruler, a pencil and a hammer — plus the *wooden frame and nails from your kit. See the small images below for positioning your nails which should be 1cm apart and along the centre of the frame section. Leave approx….
Been searching high and low for these images and have found them at last tucked right at the bottom of my hard disk! They normally surface once a year for the kids to colour in and make cards or just for the fun of scribbling. Useful for Mums too if they need a quiet moment…
Remember the post I put up about checking out the dustbins some while back? I mentioned some salvaging I had done – or rather – my husband had done on my behalf – of display items which had been thrown out by a local store – they never actually went in the garbage by the…
![Twining or twisted header [7]](https://www.craftworkshopsinitaly.com/wp-content/uploads/2021/11/il_794xN.3004352882_i0us-768x576.webp)
Creating a twisted header (or footer) to create a neat finish for the lower end of your work you will need: NB — the twining begins on the bottom left of the frame of course, but my demonstration shows work from only half-way across the warp threads. I had already completed the first section before…
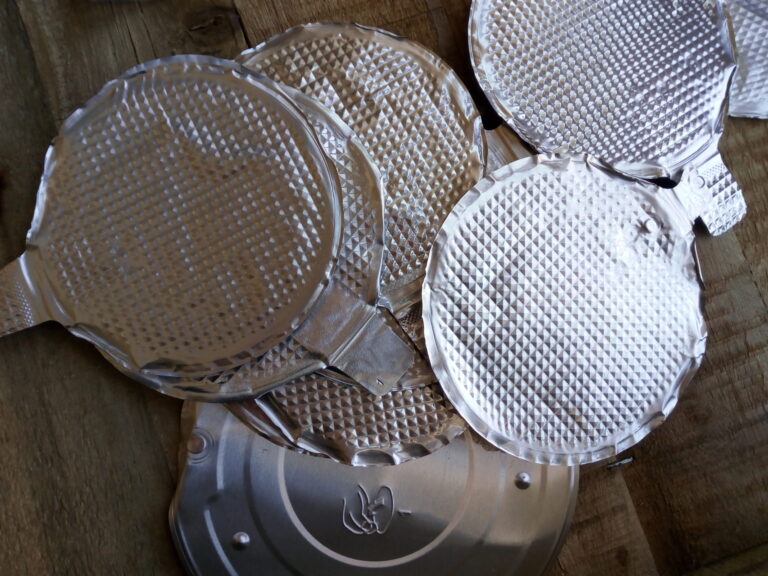
If you are into card making or die-cutting of any sort, use these canister seals to sharpen up the cutting edges of your die-cutting tools. They are usually found on all sorts of food packaging –- those in the image came from a canister of dried milk, gravy granules and similar. With few exceptions, when…

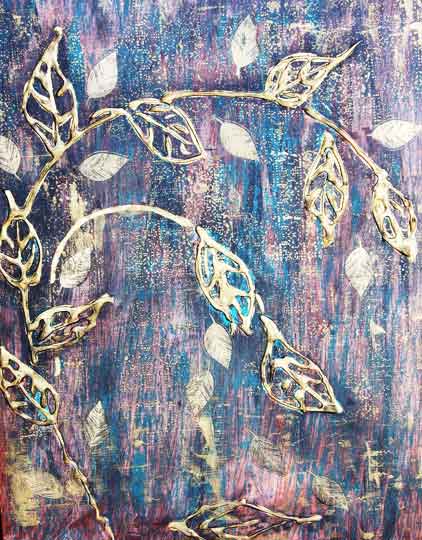
Using fancy yarns, ribbons and woving will add interesting movement and texture to your finished piece. In contemporary weaving, the use of unexpected fibres has become very popular in recent years, and the results achieved have been surprising to say the least. In the blue & moon weaving project, you will see that there are…